Attachment Chips (Parametric)
アタッチメントチップ(パラメトリック)
- Designer
- パナソニック株式会社 デザイン本部
About this item
For (With Whom)
People who are blind or have low vision, people raising children, and others.
Why
Recent home appliances (hereafter "appliances") increasingly have flat operation buttons (hereafter "buttons") with no raised parts. They are valued for being easy to clean and for their attractive appearance, but Panasonic received comments such as "they can only be identified by sight, making them hard to operate" and "it is hard to tell which button is which."
Tips
How
- What is an Attachment Chip (hereafter "chip") An aid that you attach to the flat operation buttons (hereafter "buttons") of an appliance so that you can find their position by touch.
- How to use Simply make the chip with a 3D printer and stick it on the button area with commercially available double-sided tape.
- Shape It consists of a "cushion" part, which is the chip body, and a "frame" part, which corresponds to the hole of the chip, and the size of each can be customized. *Depending on the size of the control panel it will be attached to, you can also make one without the frame part.

・Symbols that can be added to chips
You can choose from 8 types of raised symbols to add to a chip, making it easier to tell buttons apart.
・Customizable
The size of the symbols and the thickness of the lines can be adjusted to suit your fingertip sensitivity.

Other
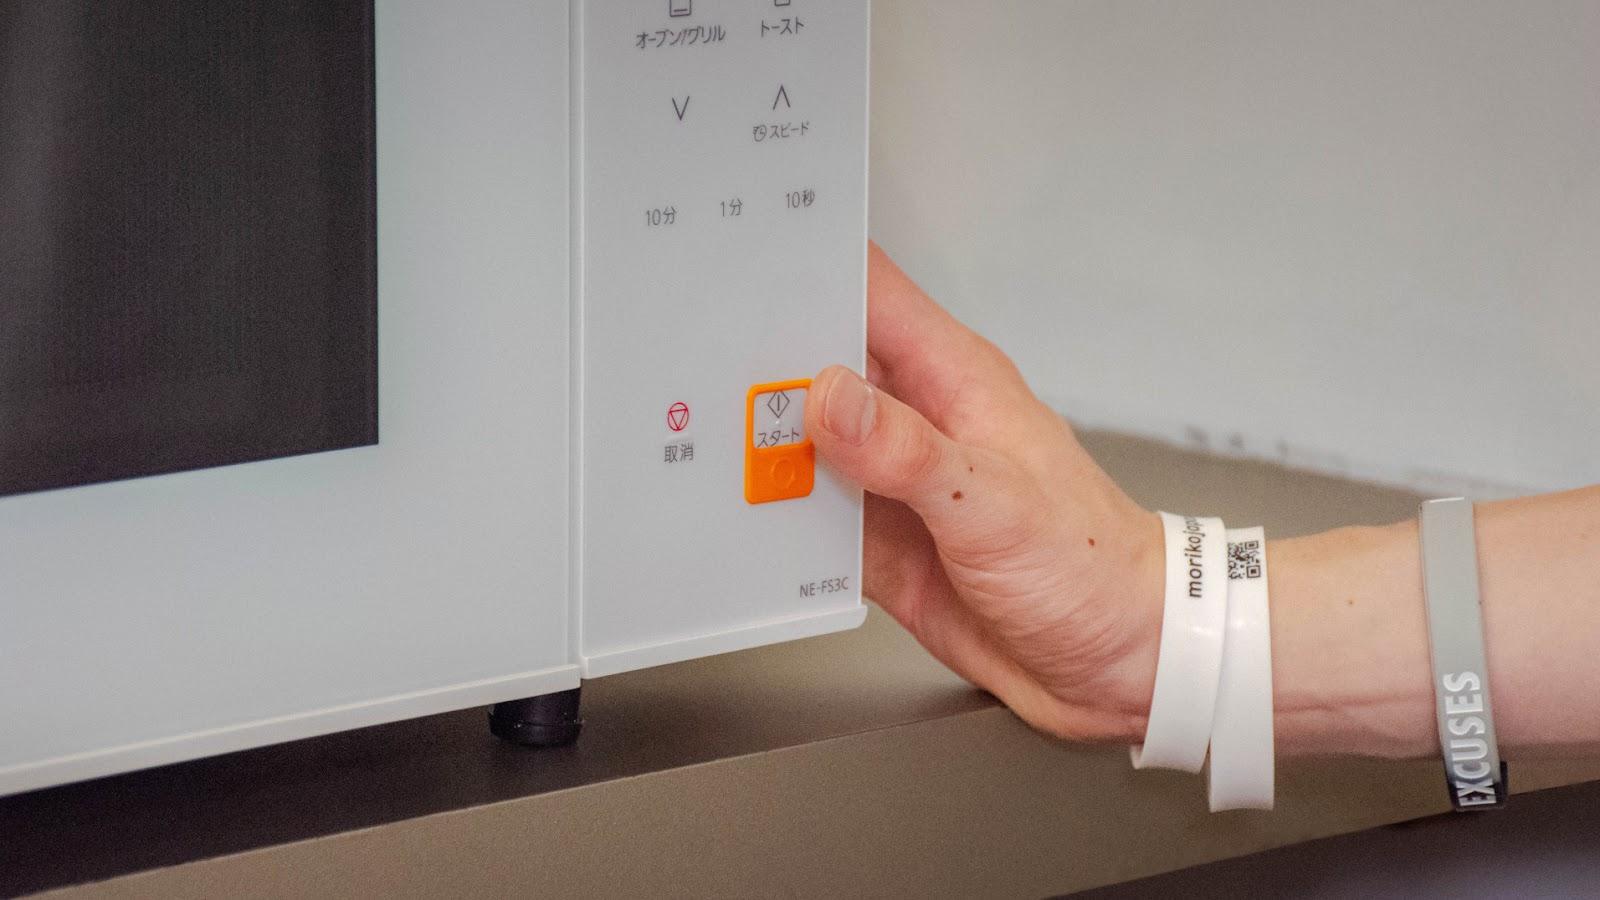
- For the control panels of the Panasonic cooking appliances with the model numbers below, there are attachment chips that can be attached without adjusting the size. Please use them from this page.—Go to the Attachment Chips page
Microwave oven: NE-FS3C, Microwave: NE-FS3A, Built-in IH: A series, S series, B series, C series, Rice cooker: SR-V10BB, SR-M10B, SR-R10B, SR-UNX101, SR-AX1-W, SR-KT060, Auto cooker: NF-AC1000, NF-AC700-H
Precautions
- Because these chips are small, there is a risk of children swallowing them. When you download the data, the "Safety Precautions" document is downloaded together with it, so be sure to read it before use. If someone else makes the chips on the user's behalf, make sure the user is thoroughly informed of the safety precautions.
Materials Used
Base: PLA
Approximate 3D Print Weight
1.3g
Print Settings Overview
Body: Nozzle diameter = 0.4mm , Layer height = 0.2mm, Temp = 220°C , Support = None
Detailed Instructions for Making and Using
Measure the size of the target button and adjust the size before use.
・Frame type:
By attaching it so that the frame sits over the part of the button you press, this shape lets you press correctly without your finger slipping.
・Tile type:
Depending on the product, the control panel may be too narrow to attach a type with a frame. In that case, attach a frameless tile type below or beside the button.
Step 1.
Measure to determine whether the frame type can be selected
The frame type requires a certain amount of area at the attachment site, so referring to the figure below, check whether there is a flat area near the button on the control panel, not overlapping other indicators, with an attachable height of 24 mm or more.
If it is less than 24 mm, the frame type cannot be attached, so select the "tile type" as the chip shape.

Corresponding part of the frame type chip
Step 2.
(If you selected the frame type) Decide the frame height (skip this for the tile type)
Referring to the figure below, measure the display height and set the vertical dimension of the frame so that it is larger than that. If, in addition to characters and symbols, the switch has a lamp that shows its operating state, measure the display height including the lamp.

Corresponding part of the frame chip type
Step 3.
Decide the chip width
For the frame type: Referring to the figure below, measure the display width and set the width dimension of the cushion setting to that dimension plus 4 mm, or larger.

Corresponding part of the frame chip type
When attaching chips side by side: Measuring the button pitch (the distance from the center of one button to the center of the next) determines the maximum width that can be attached side by side. *If the width determined for attaching side by side is smaller than the width determined for the frame type, change to the tile type instead of the frame type.
Part of the chip corresponding to the button pitch
Step 4.
Select a symbol
Select the one you want to add from the 8 symbols on the download site. *Choose symbols that are easy to associate, such as ○ for start, × for cancel, and < / > or - / + for increase / decrease. *If you want to change the size of the symbol or the thickness of the lines, adjust them using the parameters on the download site.

Step 5.
Once you have chosen the shape type, size, and symbol, print with a 3D printer
Step 6.
Attach to the button area of the appliance
- Place the chip printed in Step 5 on the control panel and check where to attach it. Depending on the layout and size of the buttons, position it so that a flat area is below or beside the button. For the frame type, position it so that the part you press as the button falls inside the frame.
- Apply double-sided tape to the entire flat part of the back of the chip (the side without the symbol), leaving no gaps.

- After thoroughly removing dirt and moisture from the flat surface of the control panel where it will be attached, press down from above so that no part is lifted, and bond it.

Example of attachment

*Precautions when attaching
- When attaching to a product with a heat source, such as a built-in IH cooking heater, be sure to attach it so that the symbol is on the near side of the heat source, so that you do not accidentally bring your hand close to the heat source when checking the symbol. (Photo 1)

(Photo 1) An example of a chip attached so that the symbol is on the near side of the heat source area shown in red
- If there is a lamp indicating operating status near the button, attach the chip so that it does not hide the lamp. (Photo 2)
- Also, attach it so as not to hide the display as much as possible.

(Photo 2) An example of a chip attached so that the red lamp and characters are not hidden
Step 7.
Check operation
Confirm that the operation buttons still work normally with the chip attached, and that the chip does not easily shift when touched with a finger. *If the operation button is hard to activate or the chip shifts easily, reattach it or replace it with a different chip.
Safety Precautions (Please be sure to observe)
These explain what you must observe in order to prevent harm to people and damage to property. ■ The degree of harm or damage that may result from incorrect use is classified and explained.

|
Content that may result in death or serious injury. |

|
Content that may result in minor injury or damage to property. |
■ What you must observe is explained with the following symbols.

|
Content that must not be done. |

|
|
|

|
|
|
 STOP Accidental ingestion  Store out of the reach of children |